- Home
- Projects
- Create Project
Creating and Managing Projects
A project is a way to organize and manage your monitors. Upon signing up, a default project named "Project #1" might be created automatically for you. This section will guide you through creating, editing, and deleting projects.
Creating Projects
To add a new project, follow these steps:
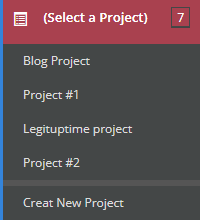
- Click the currently selected project to expand the menu on the top left sidebar
(if you have none selected it will say "(Select a Project)")
- Click "+ Create New Project".
- A sidebar on the right will appear, prompting you to enter the project name.
- After entering the name, you should see the new project show up with your other projects.
Editing Projects
To edit a project, follow these steps:
- Select the desired project from the top-left projects menu.
- Go to "Settings".
- Make the necessary changes to the project settings.
- Save your changes.

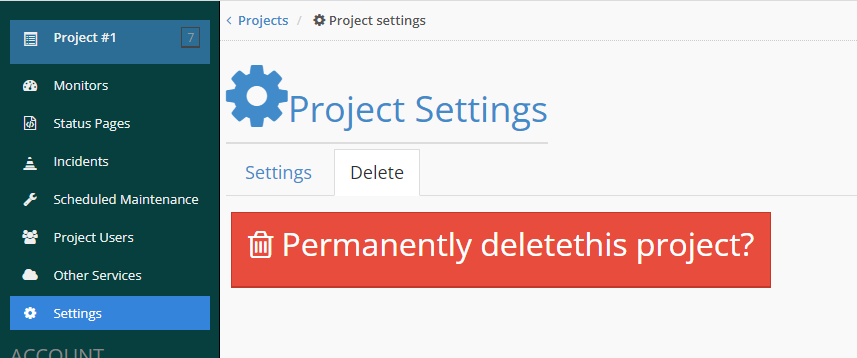
Deleting Projects
To delete a project, follow these steps:
- Select the desired project from the top-left projects menu.
- Go to "Settings".
- Click the "Delete Project" button.
- Confirm your decision to delete the project.